Emulating an iPod Touch 1G and iPhoneOS 1.0 using QEMU (Part I)
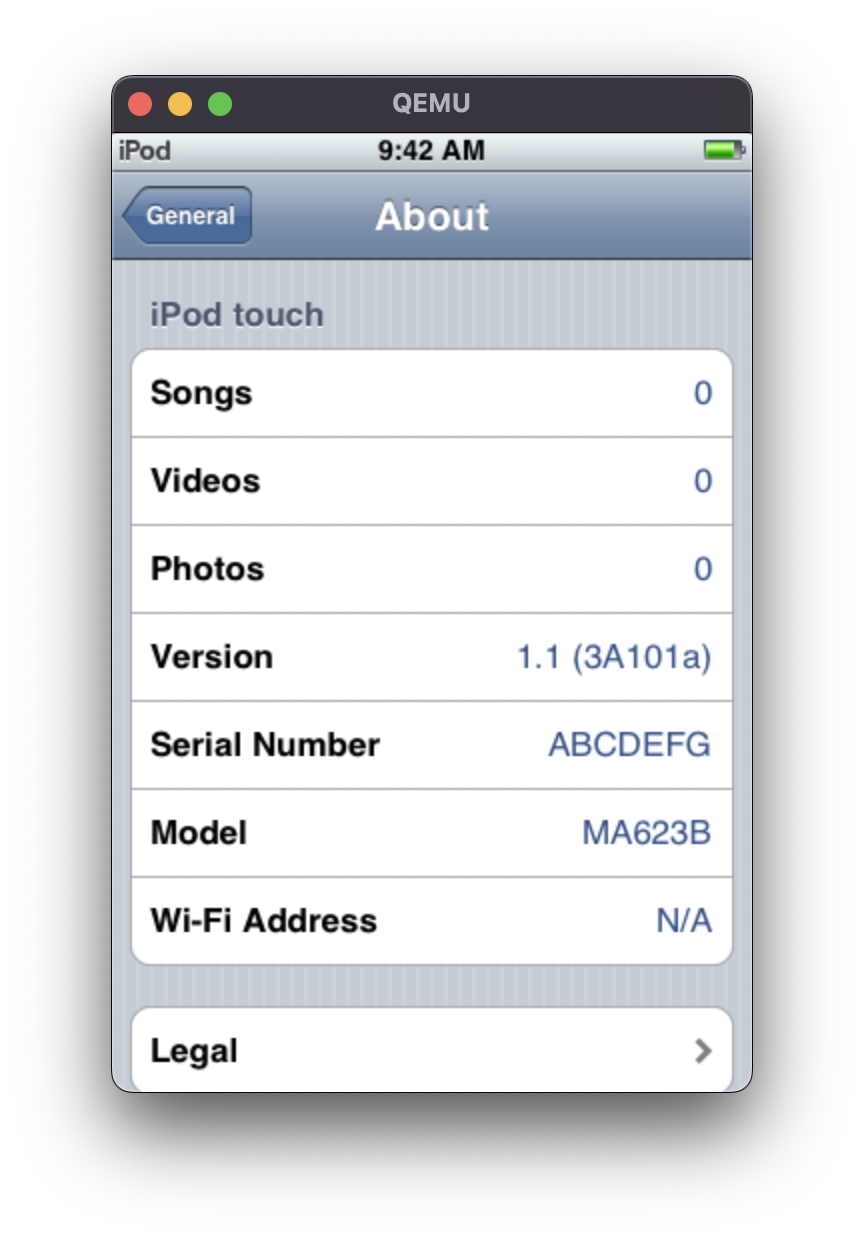
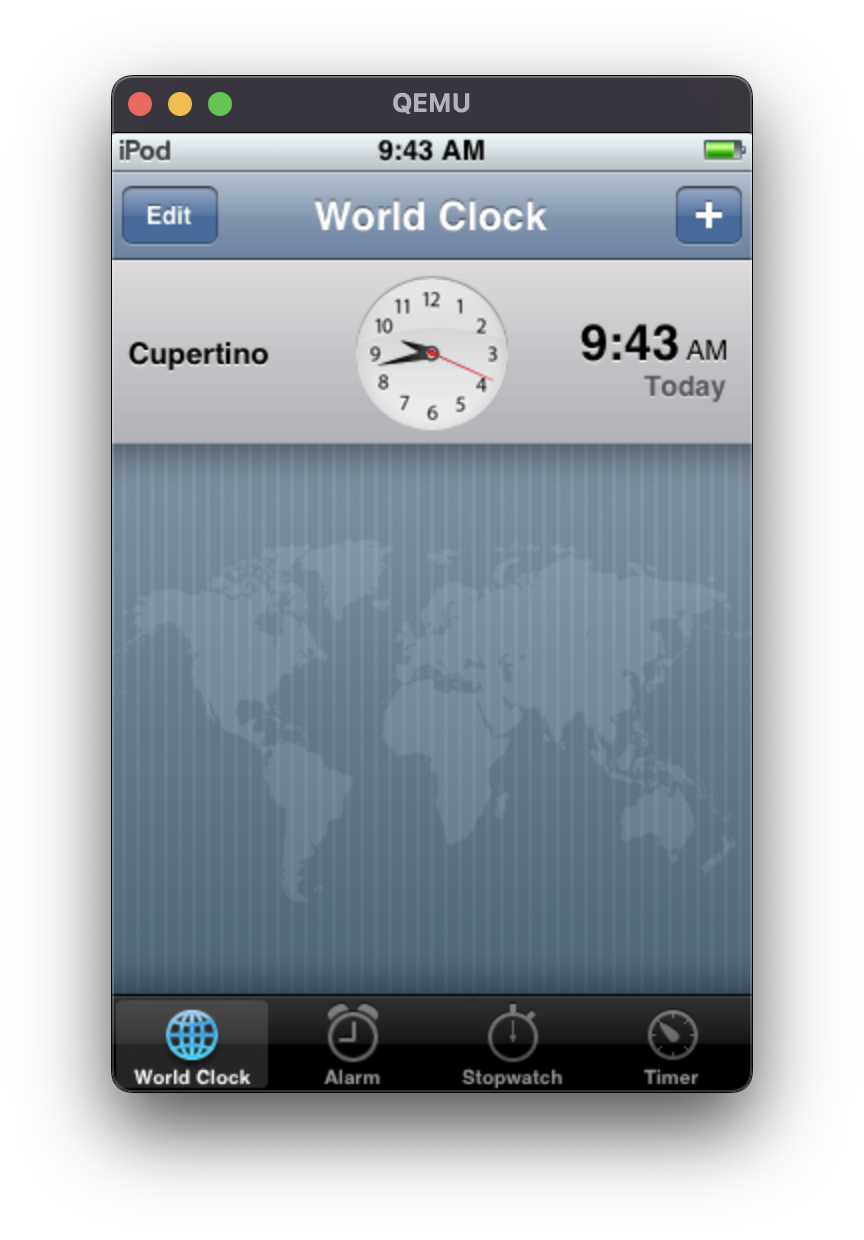
Around a year ago, I started working on emulating an iPod Touch 1G using the QEMU emulation software. After months of reverse engineering, figuring out the specifications of various hardware components, and countless debugging runs with GDB, I now have a functional emulation of an iPod Touch that includes display rendering and multitouch support. The emulated device runs the first firmware ever released by Apple for the iPod Touch: iPhoneOS 1.0, build 3A101a. The emulator runs iBoot (the bootloader), the XNU kernel and then executes Springboard. Springboard renders the home screen and is responsible for launching other applications such as Safari and the calendar. I haven’t made any modifications to the bootloader, the kernel or other binaries being loaded. All source code can be found in my branch of QEMU. Note: the emulator requires a custom NOR and NAND image (more about that later in this post). I aim to publish another blog post soon with detailed instructions on how to generate these custom images.
The video below shows the emulator in action when booting the device and when navigating through various applications:
To achieve the above, I built upon some of the previous work on iOS/Apple device emulation by others 🚀:
- This initial blog post by @zhuowei initially inspired me to start with this project.
- The follow-up work by Johathan Afek, building upon the work by @zhuowei.
- Early work on the emulation of the S5L8900 SoC.
- This emulation of the iPhone 11 with QEMU - provides full kernel emulation functionality.
- The openiboot project has been an invaluable resource in understanding the hardware components of the iPod Touch (I do hope that at one point, we can run Android on iOS devices).
- The Ghidra reverse engineering tool that I used to disassemble the bootloader/kernel images and other binaries.
- This dump of the iPod Touch device tree by @dizima that provided an overview and specification of hardware components included in the iPod Touch 1G.
The most complicated part of this project was to emulate the many hardware components included in the iPod Touch. The specifications of most of these components I had to get operational are proprietary and undocumented, making it sometimes quite difficult to emulate them properly. I do think, however, that this is the first emulated Apple product that is not only open source but also has full display support and multitouch operational (even though Correllium also offers virtualized iPhones, Correllium is commercial and closed source). In this blog post, I will outline some of the challenges I encountered, describe the steps taken during the boot process, and list some future tasks that can make the emulation even better. I did enjoy working on this emulator and learned many new things about the internals of mobile devices.
I specifically decided to focus on emulating an iPod Touch 1G running the first iOS version ever released. I did this for two reasons: first, older devices have fewer hardware components than newer devices, making it easier to build a useful device emulator. Contemporary Apple devices contain many additional hardware components, such as neural engines, secure enclaves, and a variety of sensors that will make the emulation of such devices much more difficult and time consuming. The second reason is that older iPhoneOS/iOS versions have few to no security measures implemented, such as trust caches. By focusing on the most primitive version of iPhoneOS, I didn’t have to circumvent any security mechanism.
Current Project Status
All hardware components required to execute iBoot, the XNU kernel, Springboard and the pre-installed iPhoneOS applications are functional. These hardware components are:
- The AES cryptographic engine
- The SHA1 hashing engine
- The module for chip identification
- The hardware clock and timer
- The GPIO controller
- The LCD display and framebuffers
- The NAND controller and error-correcting code (ECC) module
- The Flash Memory Controller (FMC), used to communicate with the NAND memory
- The multitouch device
- The power management unit and integrated real-time clock
- The SDIO controller
- The SPI controller
- The I2C controller
- The Vectored Interrupt Controller (VIC) and GPIO interrupt controller
- The Direct Memory Access (DMA) controller
- The UART controller
The following hardware components are not functional yet but are also not essential to fully boot the iPod Touch:
- The USB OTG/Synopsys devices
- Audio devices
- The 802.11 WiFi controller
- The PowerVR MBX graphics processor
- The video encoder/decoder engine
- The accelerator and light sensor
The boot procedure of the iPod Touch
The diagram below shows all five steps when booting the iPod Touch to user applications:
Bootrom and the Low-Level Bootloader
The iPod Touch 1G uses the ArmV6 (Little Endian) instruction set. The verify first step of this project involved setting up a QEMU machine with a CPU so we could execute some code. Fortunately, QEMU supports the ARM1176 CPU and the required instruction set. After initializing the QEMU machine and initializing some memory, we are ready to load our binaries into memory and execute some code!
The first code being executed when powering on the iPod Touch is the bootrom code, presumably engineered by Samsung when the iPod Touch 1G was introduced. The bootrom is fused in the device, read-only and cannot be modified through software. Therefore, vulnerabilities in the bootrom are highly sought since such vulnerabilities cannot be fixed with software (Checkm8 was the last vulnerability of this kind). A dump of the bootrom code can be downloaded from this website. I initially attempted to load and execute the bootrom code in my QEMU machine. However, I quickly found that the bootrom jumps to some code that is probably also fused in the device and missing from the bootrom dump that I used (the missing code seems to be located at offset 0x22000000 in memory). Since I didn’t have a physical iPod Touch 1G at the beginning of this project, I couldn’t obtain this missing code. The low-level bootloader (LLB, step 2 in the above figure) also jumps to this mysterious code, so I shifted my focus to executing iBoot instead (step 3 in the above figure).
Fun with the iBoot Bootloader
The primary function of the iBoot bootloader is to initialize the device peripherals and to load and execute the kernel image. iBoot can also enter recovery mode that enables a re-install of iPhoneOS using iTunes. Fortunately, the openiBoot project has done a lot of work to re-implement most of the functionality that iBoot provides. This source code was instrumental for me in understanding the main logic and procedures in iBoot. Since iBoot initializes and communicates with various hardware components, I also had to focus on getting these components up and running for iBoot to run.
The first hardware component I worked on was the vectored interrupt controller (VIC). This components registers interrupt requests from other hardware components and informs the CPU when an interrupt happened. The iPod Touch 1G seems to be equipped with a PL192 which is well-documented. After the VIC was up and running, I worked on redirecting print statements generated by the kernel to the QEMU console, which helped during the debugging process. Below you can see the console output of iBoot, up to the point where iBoot loads and decrypts the XNU kernel:
iis_init()
spi_init()
power supply type batt
battery voltage Reading PMU register 87
error
SysCfg: version 0x00010001 with 4 entries using 200 of 8192 bytes
BDEV: protecting 0x2000-0x8000
image 0x1802bd20: bdev 0x1802b6a8 type dtre offset 0x10800 len 0x7d28
image 0x1802c170: bdev 0x1802b6a8 type batC offset 0x18d40 len 0x101e1
image 0x1802c5c0: bdev 0x1802b6a8 type logo offset 0x29a80 len 0x1c3a
image 0x1802ca10: bdev 0x1802b6a8 type nsrv offset 0x2bfc0 len 0x4695
image 0x1802ce60: bdev 0x1802b6a8 type batl offset 0x30d00 len 0xc829
image 0x1802d2b0: bdev 0x1802b6a8 type batL offset 0x3e240 len 0xe9d2
image 0x1802e888: bdev 0x1802b6a8 type recm offset 0x4d780 len 0xb594
display_init: displayEnabled: 0
otf clock divisor 5
fps set to: 59.977
SFN: 0x600, Addr: 0xfe00000, Size: 0x14001e0, hspan: 0x500, QLEN: 0x140
merlot_init() -- Universal code version 08-29-07
Merlot Panel ID (0x71c200):
   Build:          PVT1
   Type:           TMD
   Project/Driver: M68/NSC-Merlot
ClcdInstallGammaTable: No Gamma table found for display_id: 0x0071c200
power supply type batt
battery voltage error
power supply type batt
battery voltage error
usb_menu_init()
vrom_late_init: unknown image crc: 0x66a3fbbf


=======================================
::
:: iBoot, Copyright 2007, Apple Inc.
::
::	BUILD_TAG: iBoot-204
::
::	BUILD_STYLE: RELEASE
::
=======================================

[FTL:MSG] Apple NAND Driver (AND) 0x43303032
[NAND] Device ID           0xa514d3ad
[NAND] BANKS_TOTAL         8
[NAND] BLOCKS_PER_BANK     4096
[NAND] SUBLKS_TOTAL        4096
[NAND] USER_SUBLKS_TOTAL   3872
[NAND] PAGES_PER_SUBLK     1024
[NAND] PAGES_PER_BANK      524288
[NAND] SECTORS_PER_PAGE    4
[NAND] BYTES_PER_SPARE     64
[FTL:MSG] FIL_Init			[OK]
[FTL:MSG] BUF_Init			[OK]
[FTL:MSG] VFL_Init			[OK]
[FTL:MSG] FTL_Init			[OK]
[FTL:MSG] VFL_Open			[OK]
[FTL:MSG] FTL_Open			[OK]
Boot Failure Count: 0	Panic Fail Count: 0
Delaying boot for 0 seconds. Hit enter to break into the command prompt...
HFSInitPartition: 0x1802b8f0
Reading 8900 header with length 2048 at address 0x0b000000
Will decrypt 8900 image at address 0x0b000000 (len: 3319392 bytes)
Loading kernel cache at 0xb000000...
data starts at 0xb000180
As you can see from the above log, iBoot first initializes various hardware components; it then reads multiple images from the NOR flash memory, initializes the LCD screen, initializes the power management unit (PMU) to read the battery status, and then reads the kernel image from the NAND flash memory. Finally, it releases execution to the kernel. If the boot fails for any reason, iBoot jumps into a recovery mode that allows the execution of several debugging commands over the UART interface.
The iPod Touch 1G contains two kinds of persistent memory: NOR and NAND. The NOR memory is a relatively small block device. The primary file system is persisted in the NAND memory and is 8-32 GB in size for the iPod Touch 1G, depending on the model. For the emulator to correctly work, we need to emulate these block devices and make sure the bootloader/kernel can read from them correctly.
Constructing the NOR image
During boot, the iBoot bootloader reads multiple files stored in the NOR flash memory. These files are, for example, the Apple logo displayed when the device is booting, the recovery mode screen, the low battery screen, and the device tree. The NOR memory also contains the NVRAM and SysCfg partitions that store various device properties, such as the serial number, the MAC address, the boot arguments for the kernel, and crash logs. I wrote a custom tool to construct a valid NOR memory image from the files included in the IPSW file, and I provided this custom memory image when starting QEMU. The source code to construct this NOR image can be found in this GitHub repository.
Constructing the NAND image
One of the responsibilities of iBoot is to load the XNU kernel in memory and pass execution to it. iBoot can load the kernel image in two ways: it either reads the image from the file system in the NAND memory or it loads an image located at a particular memory offset. Since I want the emulation to be as close to an actual boot procedure as possible, I focussed on getting NAND I/O up and running. At a first glance, this sound straightforward as NAND storage is divided into different pages, and each page is numbered. As such, our emulator can simply return the appropriate data in a page when iBoot or the kernel requests one. Under the hood, however, a NAND device is much more complicated than that, mainly because NAND memory requires algorithms for wear levelling. This is needed because each physical block in NAND can only be reliably erased and written so many times before performance degrades. NAND drivers also contain other algorithms, e.g., for error-correcting code, bad block management, and garbage collection. As a result, the physical layout of pages in the NAND memory is quite different from the logical organization of these pages.
Openiboot fortunately contains an implementation of the NAND driver found in the iPod Touch 1G. This helped me not only to understand the physical layout of the NAND memory but also to understand the I/O interactions with the NAND memory. I also reviewed a leaked version of the iBoot source code that contains the source code of the NAND drivers. Similar to the NOR image, I wrote various scripts that construct a NAND image that could be read by the NAND driver. The source code can be found in this GitHub repository. The NAND image is built from the root file system included in the IPSW firmware file.
Decrypting and Loading the Kernel Image
At this point, iBoot correctly loads the kernel image from the NAND storage (located in the file system at /System/Library/Caches/com.apple.kernelcaches/kernelcache.s5l8900xrb). However, this kernel image is encrypted using a proprietary 8900 encryption scheme, and iBoot jumps to a decryption procedure in memory which instructions I do not have. To still be able to decrypt the image, I implemented a callback at the beginning of the encryption function being jumped to and decrypt the kernel image in QEMU logic instead. Then I leave the decrypted kernel image in memory, after which iBoot jumps to the entry method of the kernel image.
There were some other hardware components that I had to get up and running before iBoot gets to the point of loading the kernel. These components include the Power Management Unit (PMU), the DMA controller, the hardware timers and clock, and the LCD display.
Emulating the XNU Kernel
Most of my reverse engineering efforts have gone into understanding the XNU kernel and emulating hardware components that are used by the kernel. Even though the XNU kernel is mostly open source, Apple seems to maintain a private fork for the kernel included in Apple devices such as the iPod Touch and iPhone. Comparing the kernel shipped in iOS with the open-source kernel code, it seems that Apple has made various changes to the iOS kernel to ensure that it can run on ARM CPUs. Additionally, no source code for device-specific drivers for hardware components is available in the open source kernel implementation.
The XNU kernel first initializes several BSD subsystems, including the memory management logic, the scheduler and support for threads. Subsequently, the kernel reads the device tree included in the NOR image. A device tree is a data structure that describes all hardware components which are part of a particular device. The kernel uses the device tree to load the appropriate drivers for all these components and to initialize these components with the correct settings. A dump of the device tree used by the iPod Touch 1G can be found here and, as you can see, contains quite a lot of information! The device tree can also reveal information about dependencies between different components. For example, it indicates that communication with the multitouch screen proceeds over an SPI interface that is controlled by an SPI controller.
Perhaps the most important field in the device tree nodes is the memory address of components. Most hardware components use a technique called memory-mapped IO, or MMIO. With MMIO, the same address space is used to address both main memory and I/O devices. As a result, the kernel can simply read from and write to the main memory to communicate with hardware components. Implementing support for Memory-Mapped I/O in QEMU turned out to be relatively straightforward. Some hardware components, however, do not use MMIO and have to be accessed using different hardware communication protocols, such as SPI, I2C or SDIO.
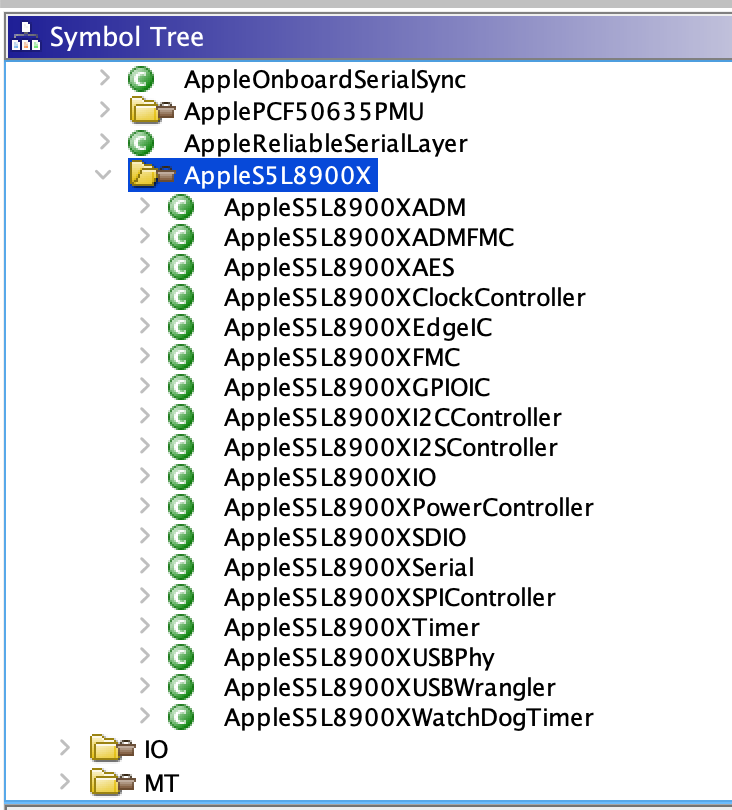
After the BSD subsystems are initialized, the kernel starts the IOKit framework and starts to load the drivers for the hardware components included in the device tree. Since there are quite some drivers being loaded by the kernel (roughly 30), ensuring that all these drivers are correctly started took me a few months. The booting process occassionally got stuck because it was waiting for a hardware component that I didn’t emulate correctly yet to give a particular response. Below you can see a screenshot of some of the decompiled drivers:
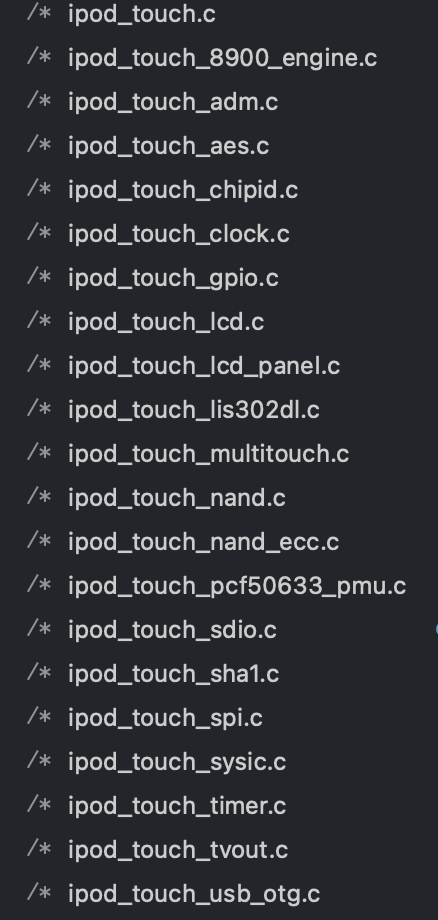
And some of the files in my QEMU repo:
At one point during execution, the kernel starts reading binaries from the file system in NAND. Even though I already had full NAND support to make iBoot happy, the kernel reads from the NAND storage through a Flash Memory Controller, or FMC. This turned out to be one of the most challenging hardware components that I had to emulate. The FMC was also the first hardware component I had to emulate without any documentation or source code available. Deciphering the different I/O operations performed by the FMC and ensuring that the right NAND pages are read took me several weeks of trial and error. At this moment, the NAND read operations by the FMC should work correctly but I haven’t added support for NAND write operations yet.
After all drivers have been initialized, it is time for the kernel to execute the launchd application. launchd is the first program launched by the kernel and, as the name implies, it is responsible for launching other applications and startup scripts (it also runs with PID 1). The kernel boot is considered complete when launchd is started. From this point on, the applications executed by launchd run in user space instead of kernel space. When launchd was running correctly, the next step was to launch the standard application that manages the iPod Touch’s home screen: Springboard.
Launching Springboard
The launchd application looks for startup scripts in the /System/Library/LaunchDaemons directory in the file system and executes these scripts. These startup scripts include, for example, daemons for audio control, the address book, and Bluetooth support. One of these startup scripts, com.apple.SpringBoard.plist, contains instructions to launch the Springboard.app application. Unfortunately, Springboard got stuck shortly after starting it because I didn’t implemented display rendering yet.
Let there be Display
Springboard.App contains logic for rendering the home screen, including app icons, dialog screens, and the status bar. Display rendering on the iPod Touch (or any mobile device for that matter) is typically accelerated by a hardware graphics processor. From reverse engineering, I could already see that this hardware component is quite involved and that the communication protocol between the kernel and the graphics processor is complicated. As an alternative, I started looking for a way to disable the graphics processor for the moment being. Fortunately, the startup script of Springboard.App allowed me to add an environment variable LK_ENABLE_MBX2D=0 that successfully disables the graphics processor. With this option, all the display rendering is performed by the kernel instead which is also significantly slower than when doing rendering on dedicated hardware. Despite not having hardware-accelerated rendering operational, the animations in the emulated device are pretty smooth as also shown in the video at the beginning of the blog post.
The emulated device at this point successfully boots Springboard and renders the home screen 🎉🎉🎉
Implementing Support for Multitouch
The next step for me was to add support for navigating the user interface by touching the screen. My idea was to use the same approach as the iPhone Simulator included in Xcode, where mouse clicks are converted to touches on the screen. What seems like a relatively simple problem - detecting where a user has pressed the screen, converting this touch into an (x, y) coordinate pair and passing it to the kernel - is actually a very challenging problem. This patent granted to Apple in 2007 describes some of the required steps to accurately register user touches and gestures. In summary, the multitouch device generates frames that are read by the multitouch driver in the kernel. Each frame that contains a touch event that includes detailed information about the touch in the form of an ellipsis (see for example Figure 3 in the linked patent).
At one point, the kernel starts initializing the HID devices, which also includes the multitouch device. The initialization procedure of the multitouch device roughly looks as follows:
- Uploading calibration data: The kernel uploads calibration data to the multitouch device and calibrates the device. This calibration data is included in the file system and also embedded in the device tree.
- Uploading firmware data: The kernel uploads some Zephyr2 firmware data to the multitouch device. This firmware data is included in the file system and also embedded in the device tree.
- Reading device information: The kernel fetches various status reports from the multitouch device. These reports include information about several aspects of the multitouch device, such as versioning info and the number of touch points in the horizontal/vertical direction of the touch surface.
The kernel communicates with the multitouch device over an SPI interface. To ensure that the frames generated by the multitouch device are successfully transferred to the kernel, I had to get the SPI controller up and running. The multitouch device generates a GPIO interrupt to inform the kernel about the availability of frames, e.g., if there’s a touch or some other event to be processed. To obtain more information about the structure of frames that include touch events, I modified openiboot to initialize the multitouch device, compiled it, and logged all fields in a frame, as can be seen in the screenshot below:
By carefully analyzing the frames generated by various touches and swipes, I figured out how to convert mouse clicks in the QEMU window to touches and frames of the multitouch device. Each frame related to a touch event also includes information about the velocity of a swipe. This velocity is used, for example, when scrolling through a vertical list or when adjusting a horizontal slider. To ensure that these scrolling actions work correctly, I also had to provide a horizontal and vertical velocity in each frame generated by a touch. I compute these velocities by comparing the x/y coordinates of the previous mouse event against those of the current mouse event.
Finally, I added support for the home button (activated by pressing the ‘H’ key) and the power button (activated by pressing the ‘P’ key). This step was pretty straightforward. At this point, I have a fully functional iPod Touch that boots to the home screen and that can be navigated through by using mouse clicks and the keyboard.
I also discovered that some applications crashed because critical resource files were missing. The reason for these missing files is that I’m generating the NAND storage from the root file system provided in the IPSW. However, this clean file system is populated with various files when restoring or installing iPhoneOS. In my emulation, I’m not executing the restore scripts. I also had to copy activation records from an actual device to bypass device activation.
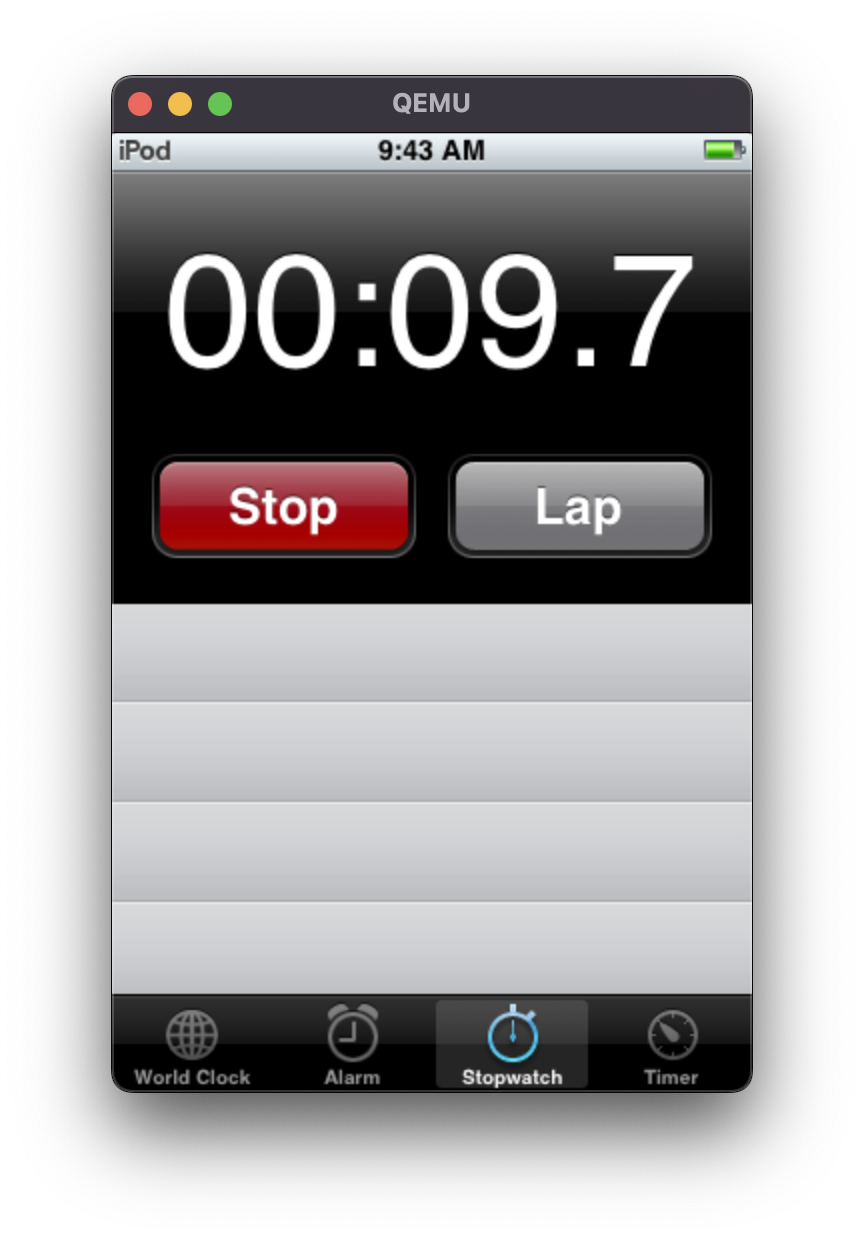
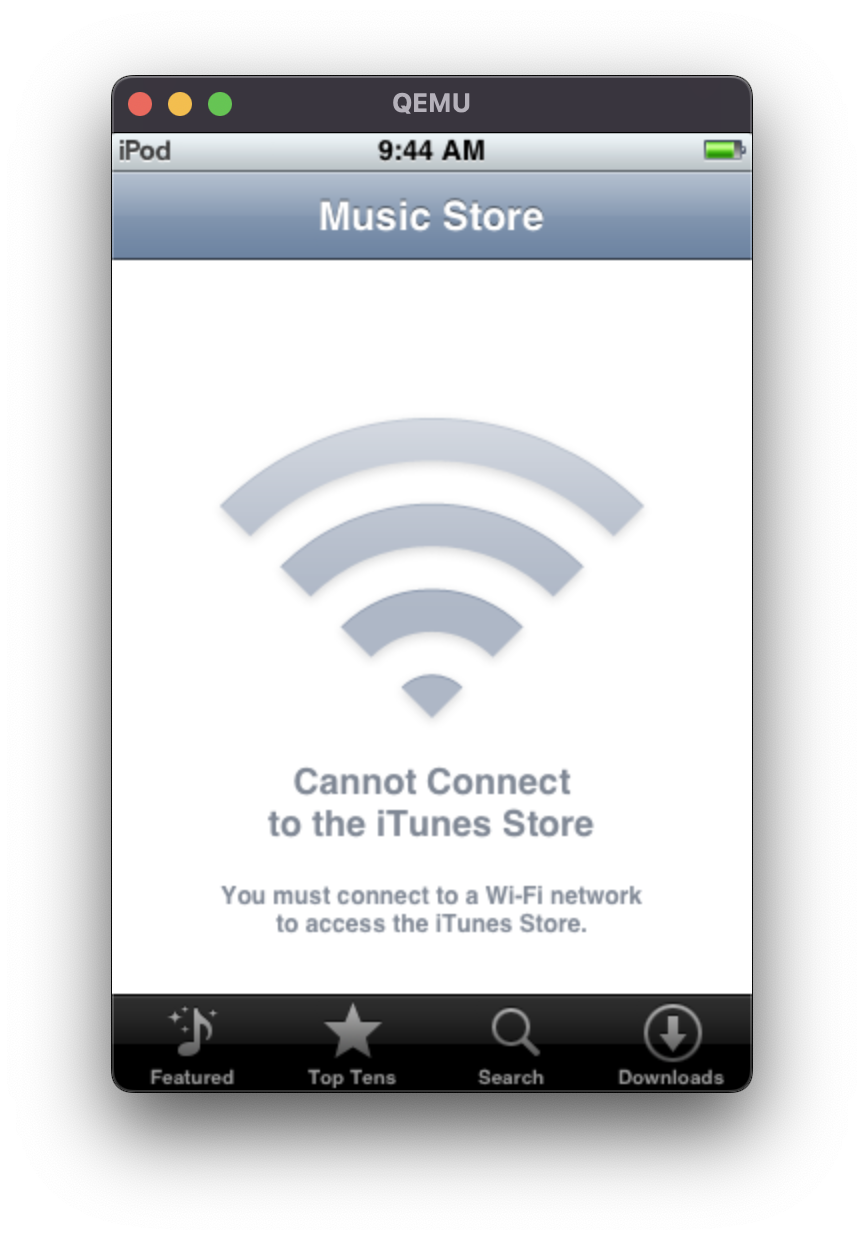
Some other screenshots when browsing through the pre-installed iPhoneOS applications:
Known Issues and Next Steps
While I now have a functional iPod Touch emulator, there are quite a few remaining issues:
- The device crashes when it tries to display a keyboard. It seems that this is because the
libicucore.dylib(the library responsible for Unicode support) is not correctly loaded in memory, but I haven’t figured out why this exactly happens. - There are a few infrequent crashes related to the USB driver and Flash Memory Controller. I suspect they are race conditions introduced because hardware communication in QEMU is much faster than on an actual device which might violate some underlying assumptions in the kernel logic.
- Advanced gestures are not supported, for example, pinching and zooming in.
- Brightness control is also not working yet.
- There is no persistence of the NAND memory.
- There are various glitches when the device is powered off or goes into auto-lock mode.
It was sometimes difficult to debug and find out what was happening on the device. Most of the debugging was done by attaching a GDB debugger to the QEMU guest. It would have been helpful to have an interactive shell running. I tried to compile and run bash on the emulated device but I haven’t gotten it to run.
It would also be nice to work towards a unified infrastructure to emulate other generations of iPhones, iPod Touches, Apple TVs and perhaps even Apple Watches. However, all these devices have differences in hardware and software specifications, and emulating them could be very time-consuming. As a next step, I would like to try to get an iPod Touch 2G functional.
I hope this blog post provided some insights into the process of emulating an iPod Touch 1G. There are many details that I didn’t write about but I might write about them in other blog posts. In my next blog post, I will provide instructions on compiling QEMU, generating the custom NOR/NAND images, and running the QEMU emulation. In the meantime, please let me know if you have any ideas, suggestions, or questions about this project!
Enjoy Reading This Article?
Here are some more articles you might like to read next:

